Open source, what can one say, it is open and as open goes the components are openly scattered and so is the documentation. I am not a philanthropist, the blog serves as reminder and gatherer of my thoughts, and if it serves any other purpose thats just swell (I will always put my disclaimer right in front and this is an indirect disclaimer for all the blunders I make). Now to the technical details and I am assuming that the person looking to install the Android dev kit is somewhat software literate and knows his way around the eclipse. Starting from the top.
1. Install the Java JDK from
https://cds.sun.com/is-bin/INTERSHOP.enfinity/WFS/CDS-CDS_Developer-Site/en_US/-/USD/ViewProductDetail-Start?ProductRef=jdk-6u24-oth-JPR@CDS-CDS_Developer
(Choose the system and do the drill)
2. Install Eclipse Classical from (drill down to the right Eclipse Classical Helios)
http://www.eclipse.org/downloads/
OR go straight to
http://www.eclipse.org/downloads/packages/eclipse-classic-361/heliossr1
3. I will say save yourself trouble with missing packages later and just Install them.
Here is how we do that.
a. Launch eclipse, goto Windows->Preferences
b. On the left side choose Install/Update and click on Available Software Sites. There should be at least two to three default update sites there. Make sure they are checked and "Enabled".
c. Surprisingly the installation will not work from with in the Windows->Preferences. For that you need to go and click on the help menu item. In the help menu click on "Install New Software". In the Work with field choose the "All available sites" OR whatever update site is available. After pending message number of packages will appear in the window. Select them all and click Next. After the installation is done we can move on to the next step.
4. Go back to Windows->Preferences and add the Android ADT download site using the instructions here
http://developer.android.com/sdk/eclipse-adt.html#installing.
The instructions for download site are under the "Downloading the ADT Plugin " heading".
5. Now we go back to Help->Install New Software. Choose the "ADT Plugin" in the Work with and then choose the "Developer Tools" click Next. Since we installed/updated packages earlier, this installation should go smooth. If everything goes well you should see Android appear in the Windows->Prefrences.
6. Now we get to install the Android SDK, which can be downloaded from
http://developer.android.com/sdk/index.html
7. We are not done yet. Going back to eclipse and Windows->Prefrences. Click on Android and in the SDK location enter or browse to the location of SDK that we installed in step 6.
8. Whew! after whatever many restarts of Eclipse during installation step we are ready to use the Android SDK of your choice for the target device.
I can jolt down the steps to do the Hello Android, but from here the budding Android developer is better off following the instructions here
http://developer.android.com/resources/tutorials/hello-world.html
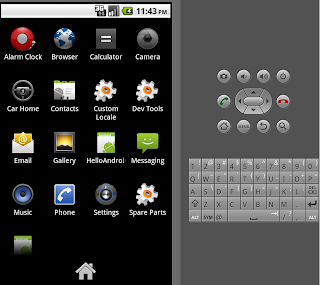
Happy coding and hope you arrive to the following soon. Viva la open source.

No comments:
Post a Comment